A shadow box memorial offers a beautiful, intimate way to honor your loved one. By combining their urn with cherished keepsakes—photographs, letters, small mementos—inside a deep-frame display, you create a personalized memorial that’s both artful and deeply meaningful. Below, you’ll find everything you need: the why, the how, styling tips, and image prompts to bring your project to life.
1. Why Choose a Shadow Box Memorial?
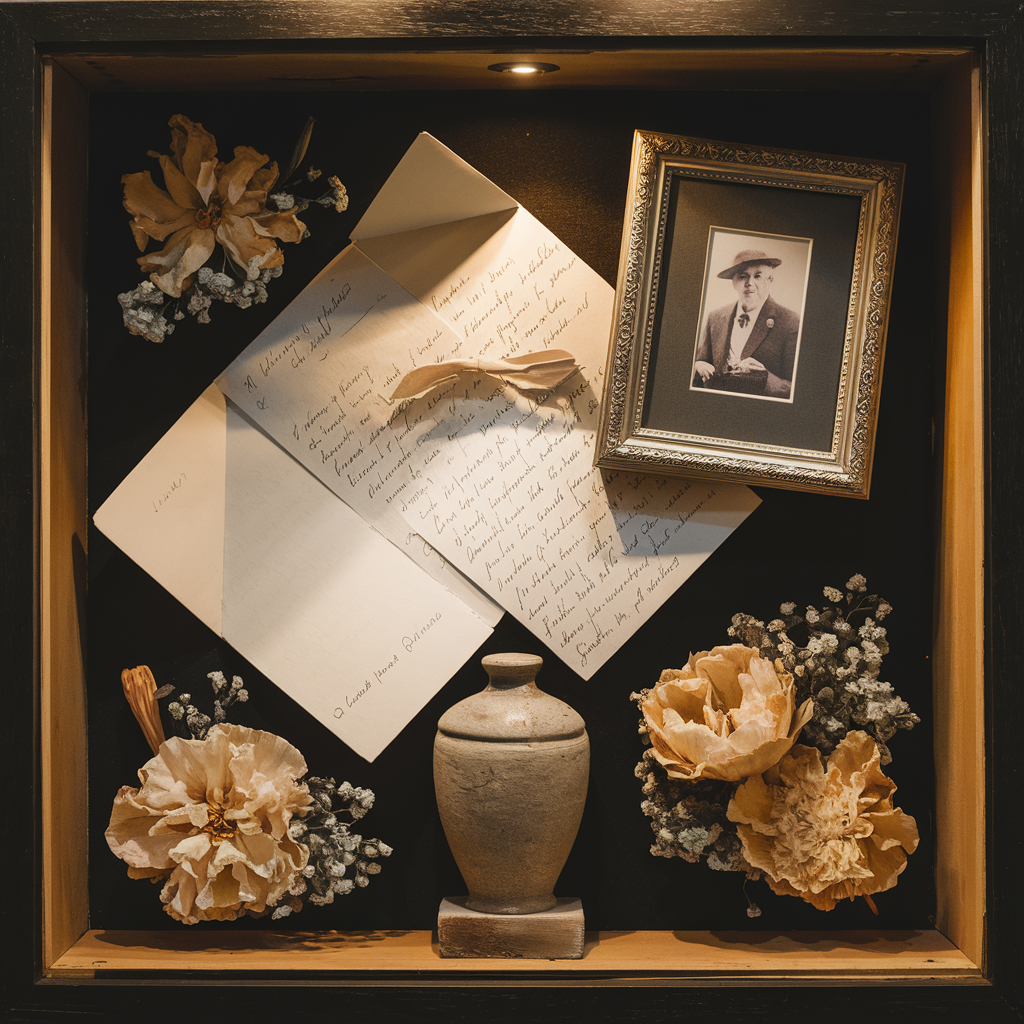
- Depth & Dimension: Unlike flat frames, shadow boxes allow you to layer three-dimensional items—an urn, dried flowers, a piece of jewelry—giving a tactile sense of presence.
- Customizable Canvas: The back panel can be covered with fabric, wallpaper, or painted to reflect the personality of the person you’re honoring.
- Keepsake Collection: It’s a single cohesive display for multiple mementos: photos, handwritten notes, medals, or small trinkets.
2. Materials You’ll Need
| Item | Notes |
|---|---|
| Shadow box frame (deep) | At least 2″–3″ interior depth; wood or metal |
| Backing material | Fabric swatch, textured paper, or painted wood |
| Mounting supplies | Hot-glue gun, mounting putty, small nails or pins |
| Keepsakes & décor | Urn, photos, dried flowers, letters, small items |
| Hanging hardware (optional) | D-rings, picture wire |
3. Step-by-Step Assembly
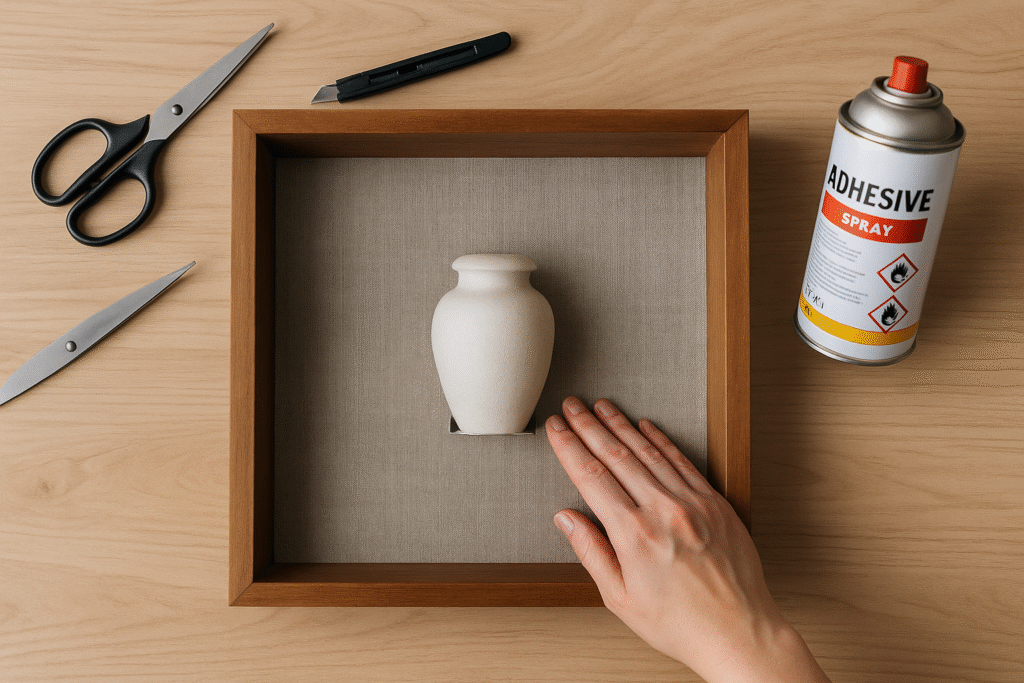
- Select Your Frame & Backing
- Remove the front panel and glass.
- Cover the backboard with your chosen fabric or wallpaper—adhere with spray-adhesive or double-sided tape.

2. Arrange Your Keepsakes
- Lay out your urn, photos, and other trinkets on the backing before fixing anything in place.
- Experiment with balance: center the urn, offset smaller items for visual flow.

3. Mount the Urn
- Use museum-putty or a discreet metal L-bracket secured to the backboard.
- Ensure it’s level and firmly supported.

4. Add Photos & Mementos
- Attach flat items (photos, letters) with photo corners or clear mounting squares.
- Secure three-dimensional keepsakes with dots of hot glue or small pins.
5. Reassemble & Hang
- Refit the glass (optional) or leave open for tactile access.
- Close the frame, attach D-rings and picture wire, and choose a spot with soft, indirect light.
4. Styling & Tips
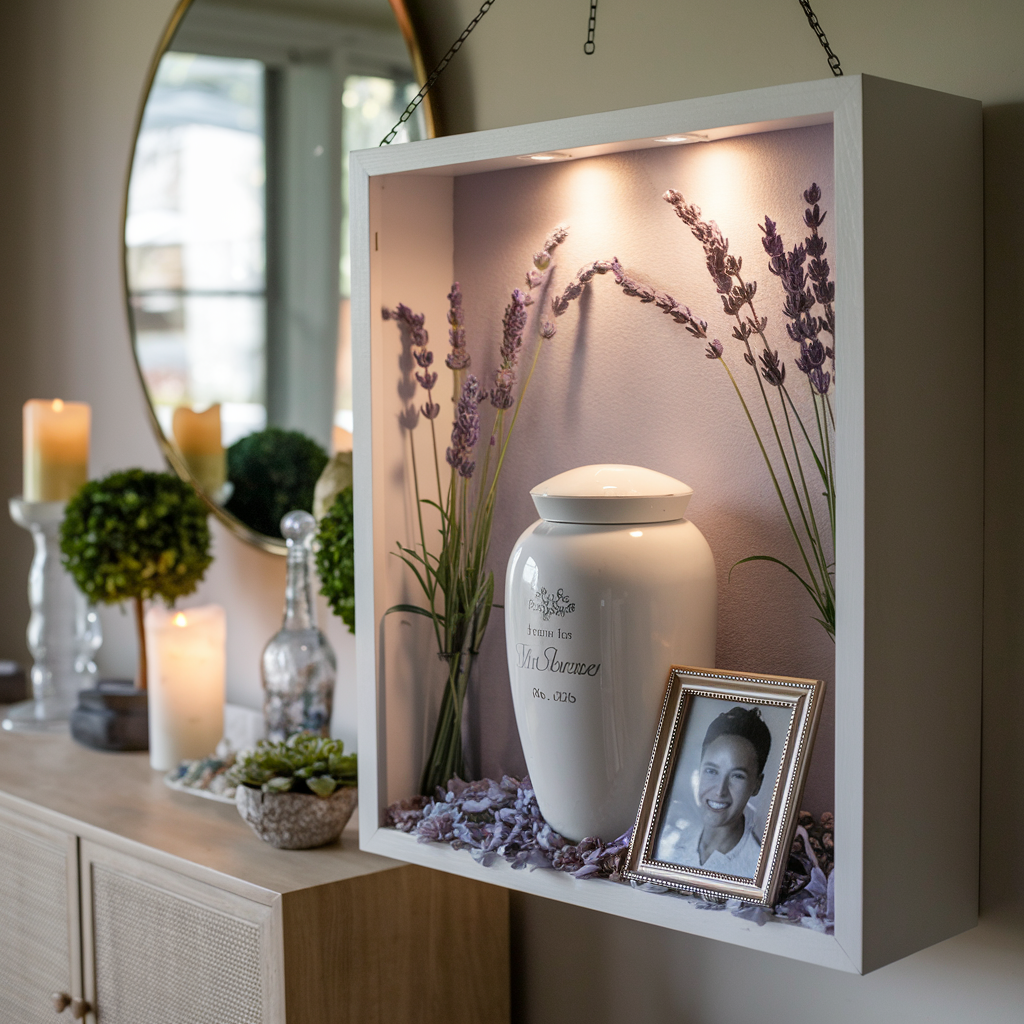
- Color Palette: Match backing fabric to room décor—neutrals for a timeless look, or a deep jewel tone for drama.
- Lighting: Install an LED strip at the top inside the box, or place a picture light above to cast a warm glow.
- Seasonal Updates: Swap dried flowers or small accents (e.g., autumn leaves, spring blossoms) to refresh the display throughout the year.
- Personal Touches: Incorporate handwriting (a loved one’s signature), small heirloom jewelry, or a printed quote on translucent vellum.
5. Conclusion
A shadow box memorial transforms a simple urn into a living tribute—an heirloom piece that tells a story and keeps memories close. With just a few materials and these step-by-step instructions (plus carefully crafted image prompts), you’re ready to build a heartfelt centerpiece for your home.
Feel free to adjust the number of keepsakes, backing textures, or lighting to suit your space—each shadow box is as unique as the life it honors. Happy crafting!